Asset pack tips
Tip for easier integration with modular asset packs, making assembly simpler.
Use “Fantacy Kingdom” asset pack from Synty Studios as example
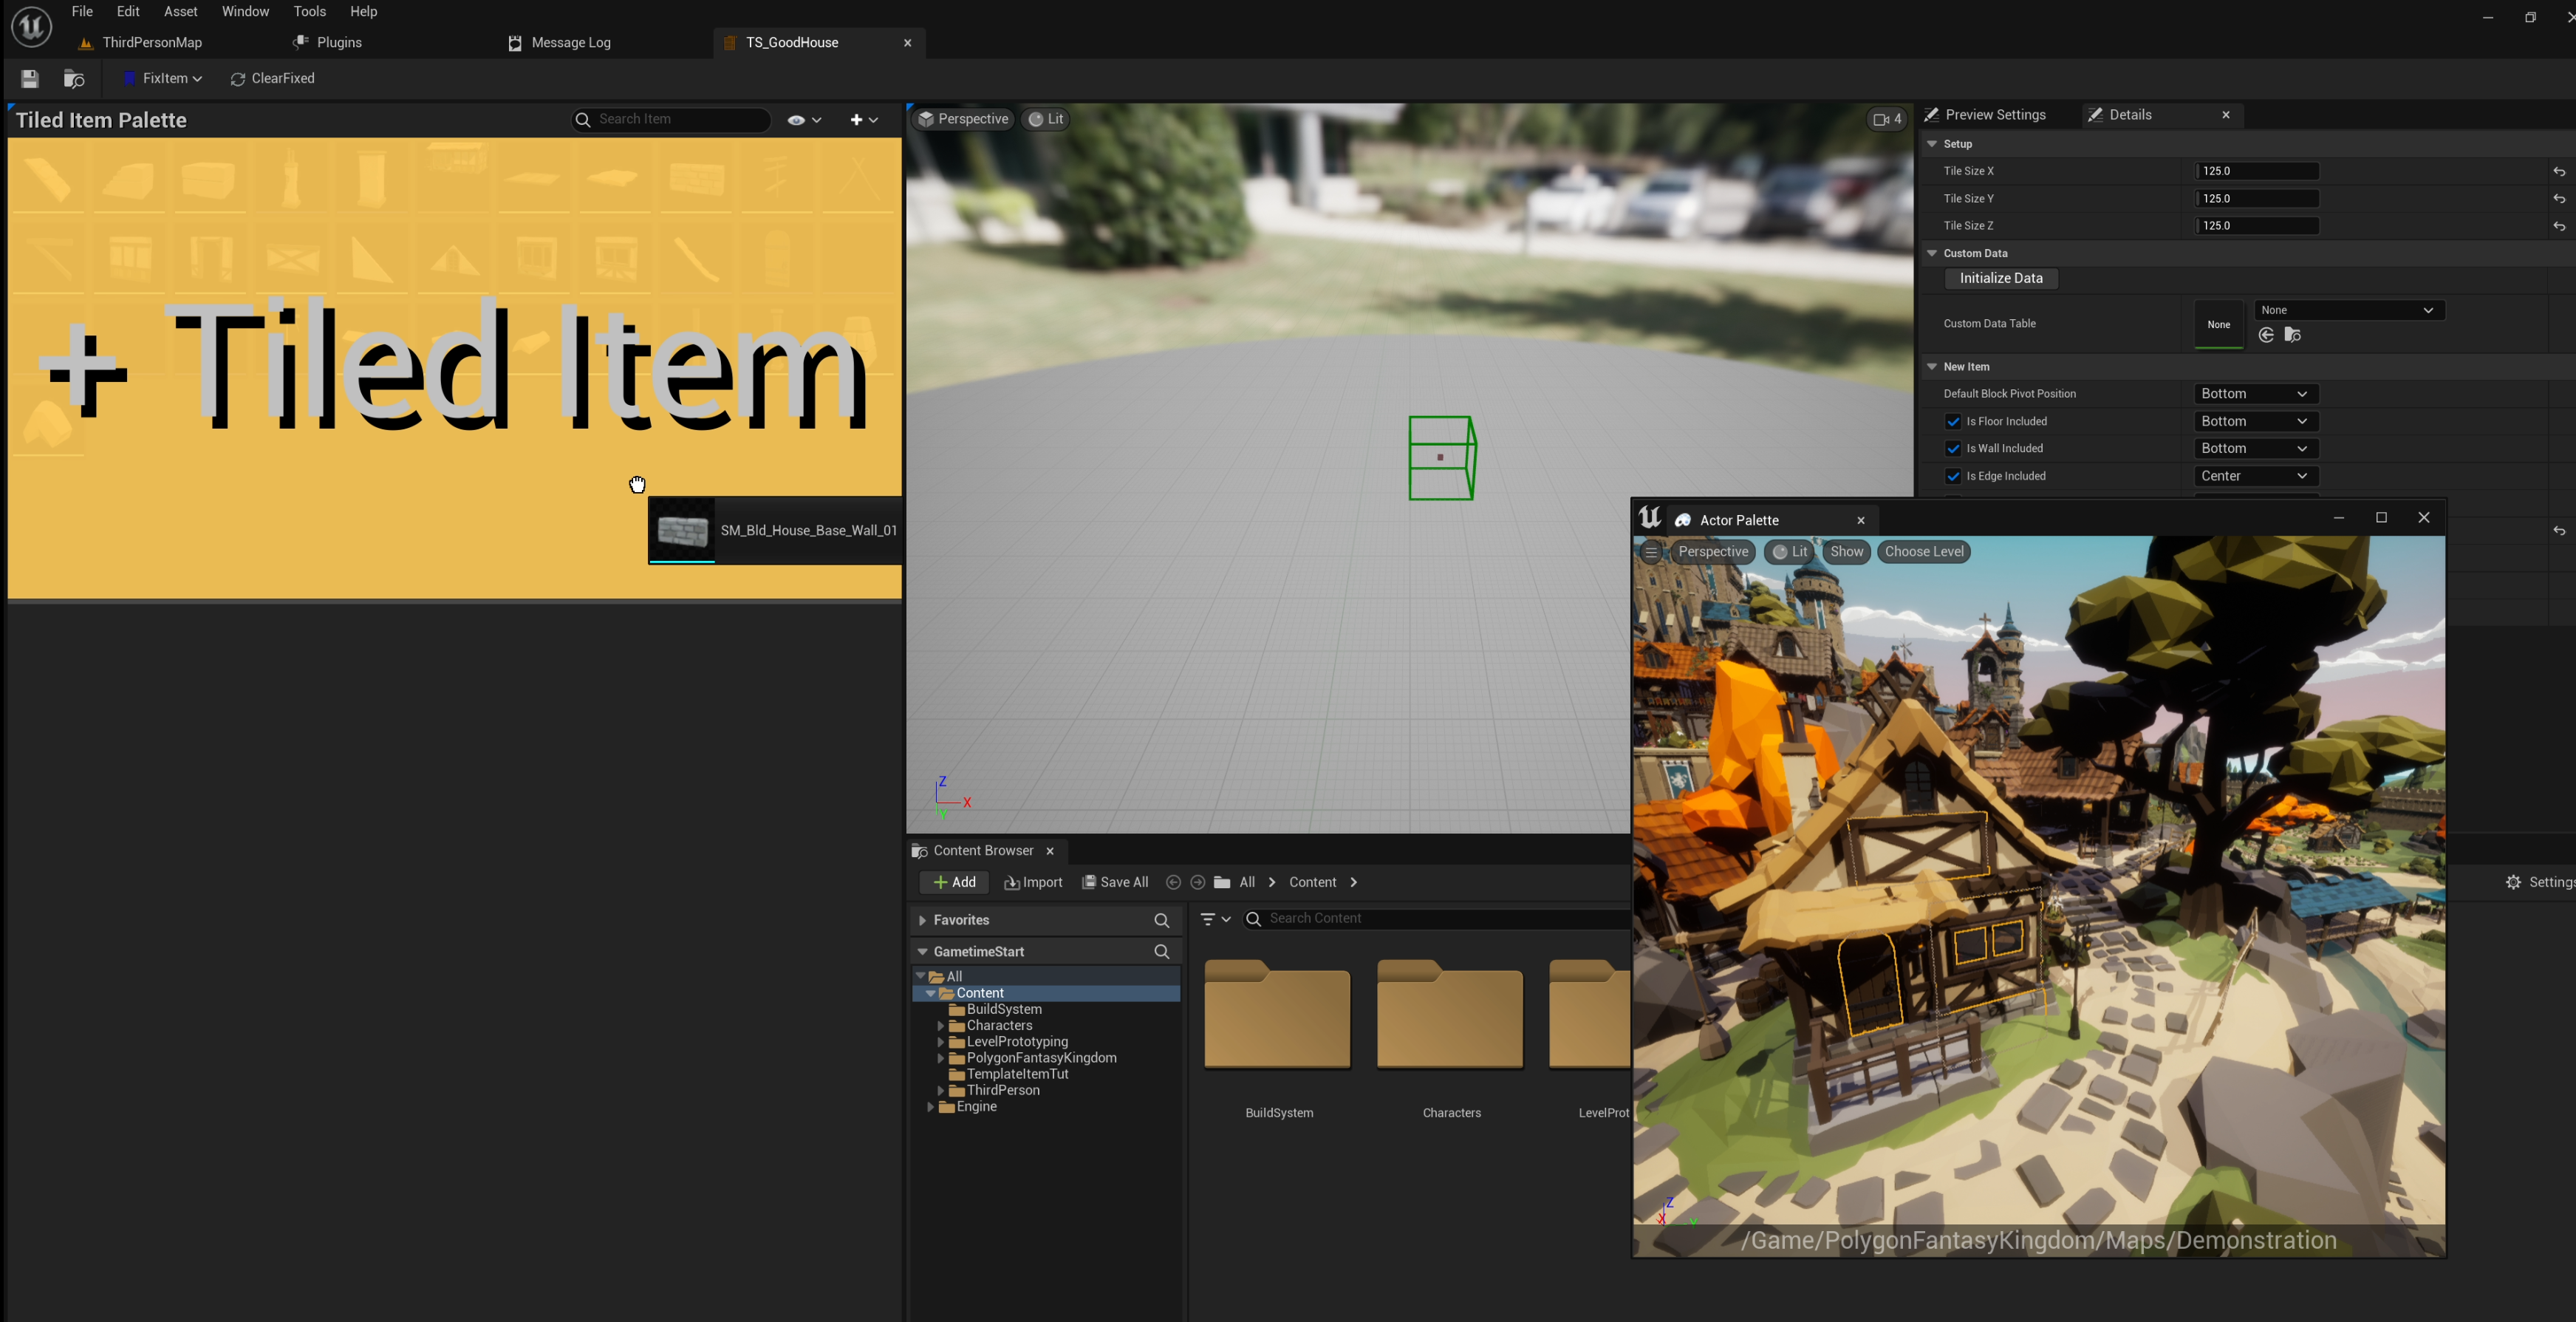
Choose a feasible tile size
When using a new asset pack, the first step is to determine a feasible tile size. Open its demonstration map, and verify the size of major structure meshes. In this asset pack, the most feasible tile size appears to be 125 x 125 x 125.
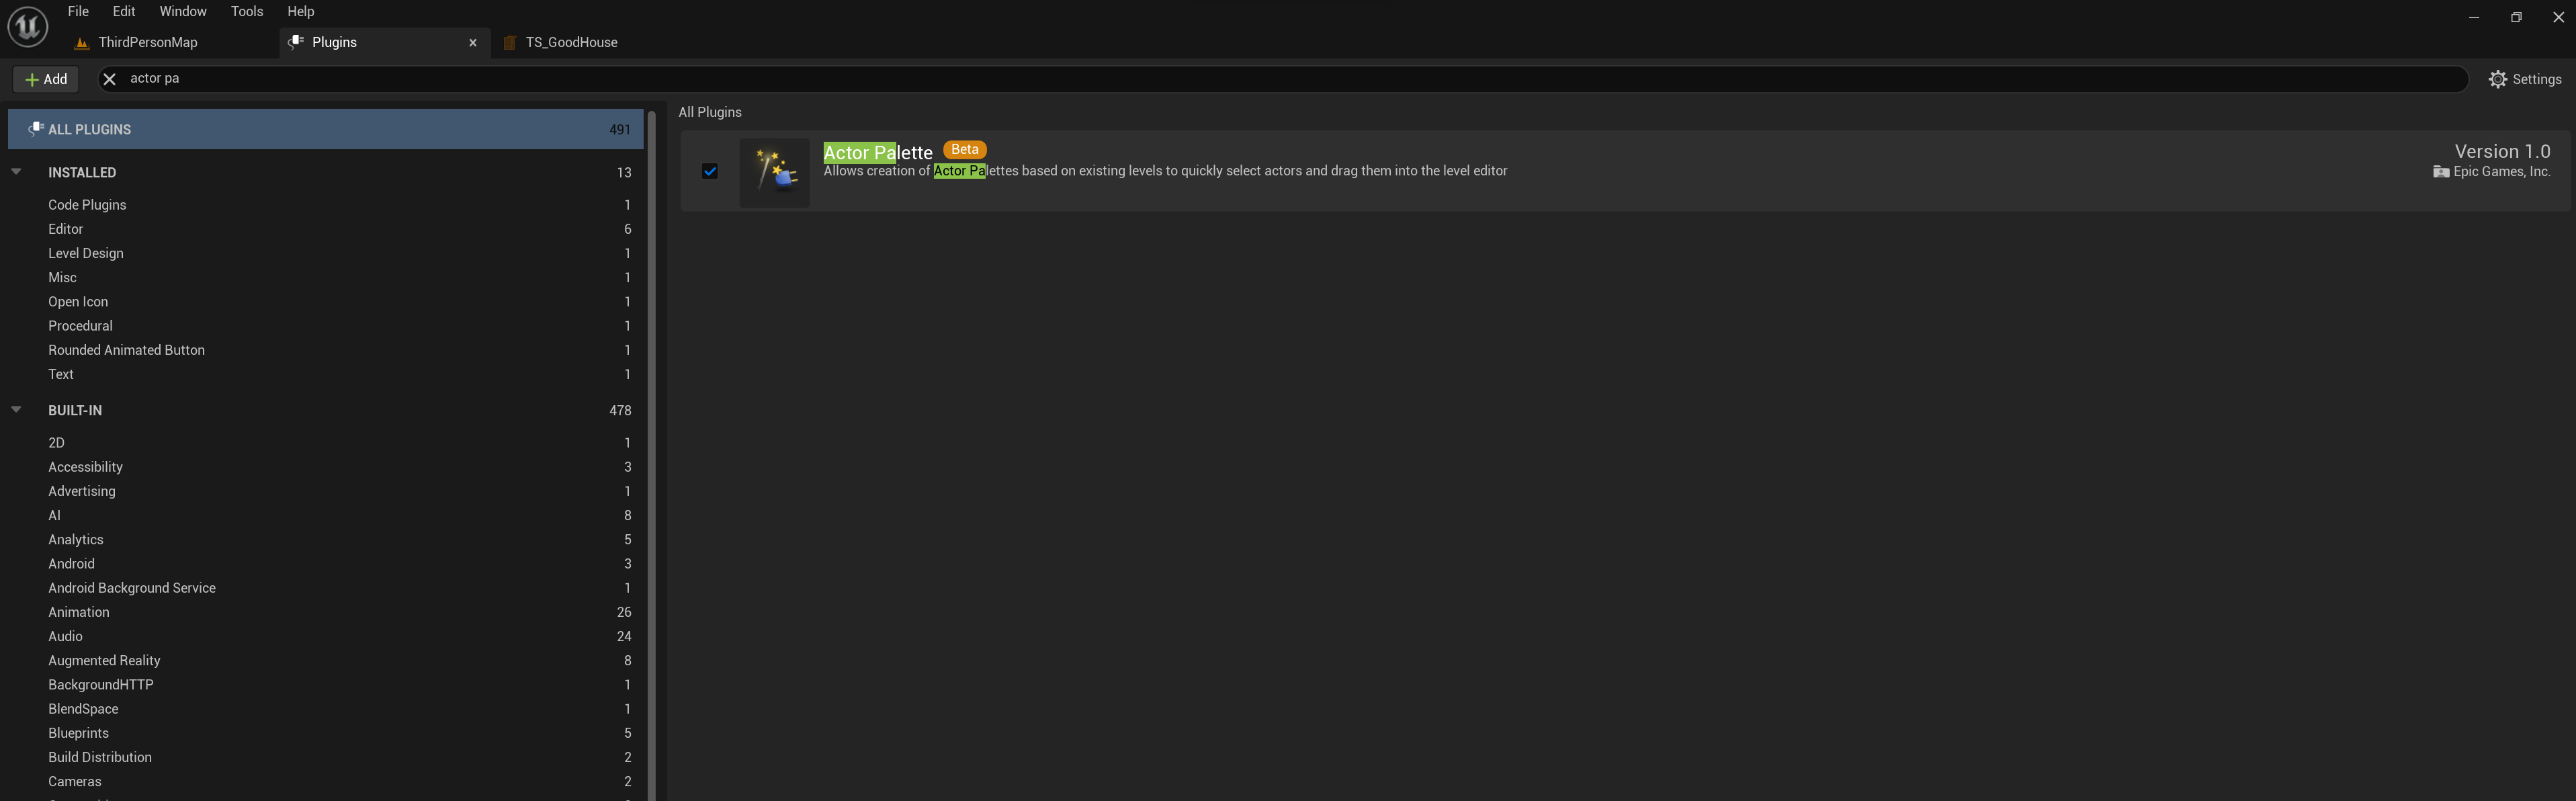
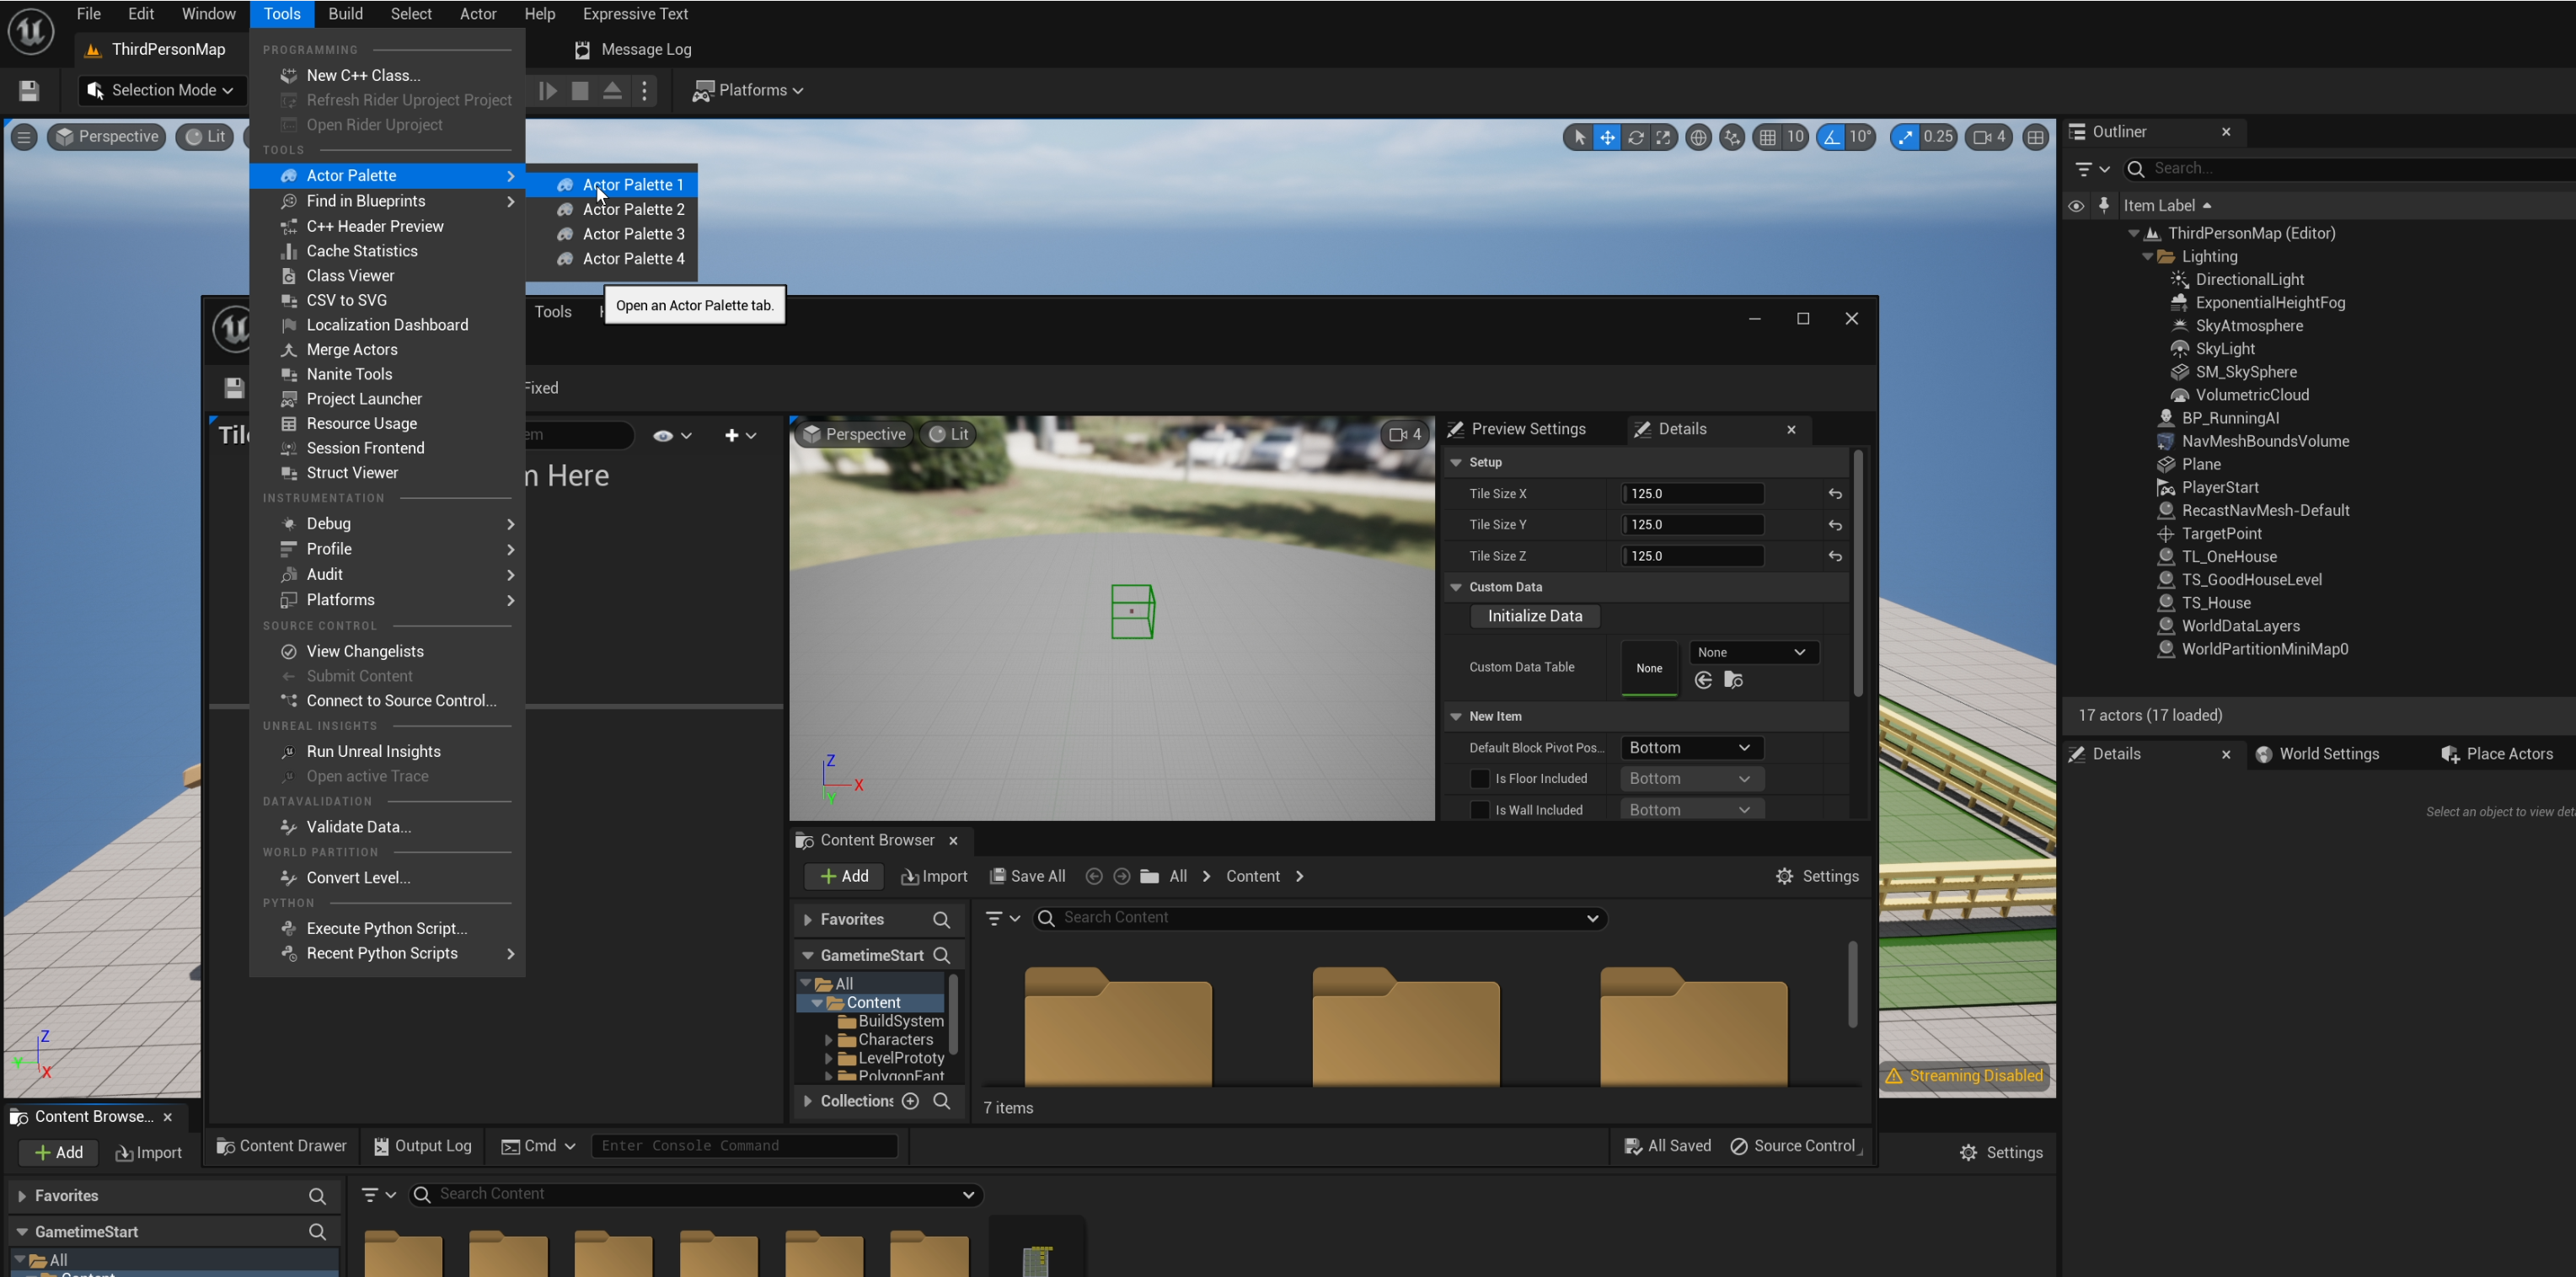
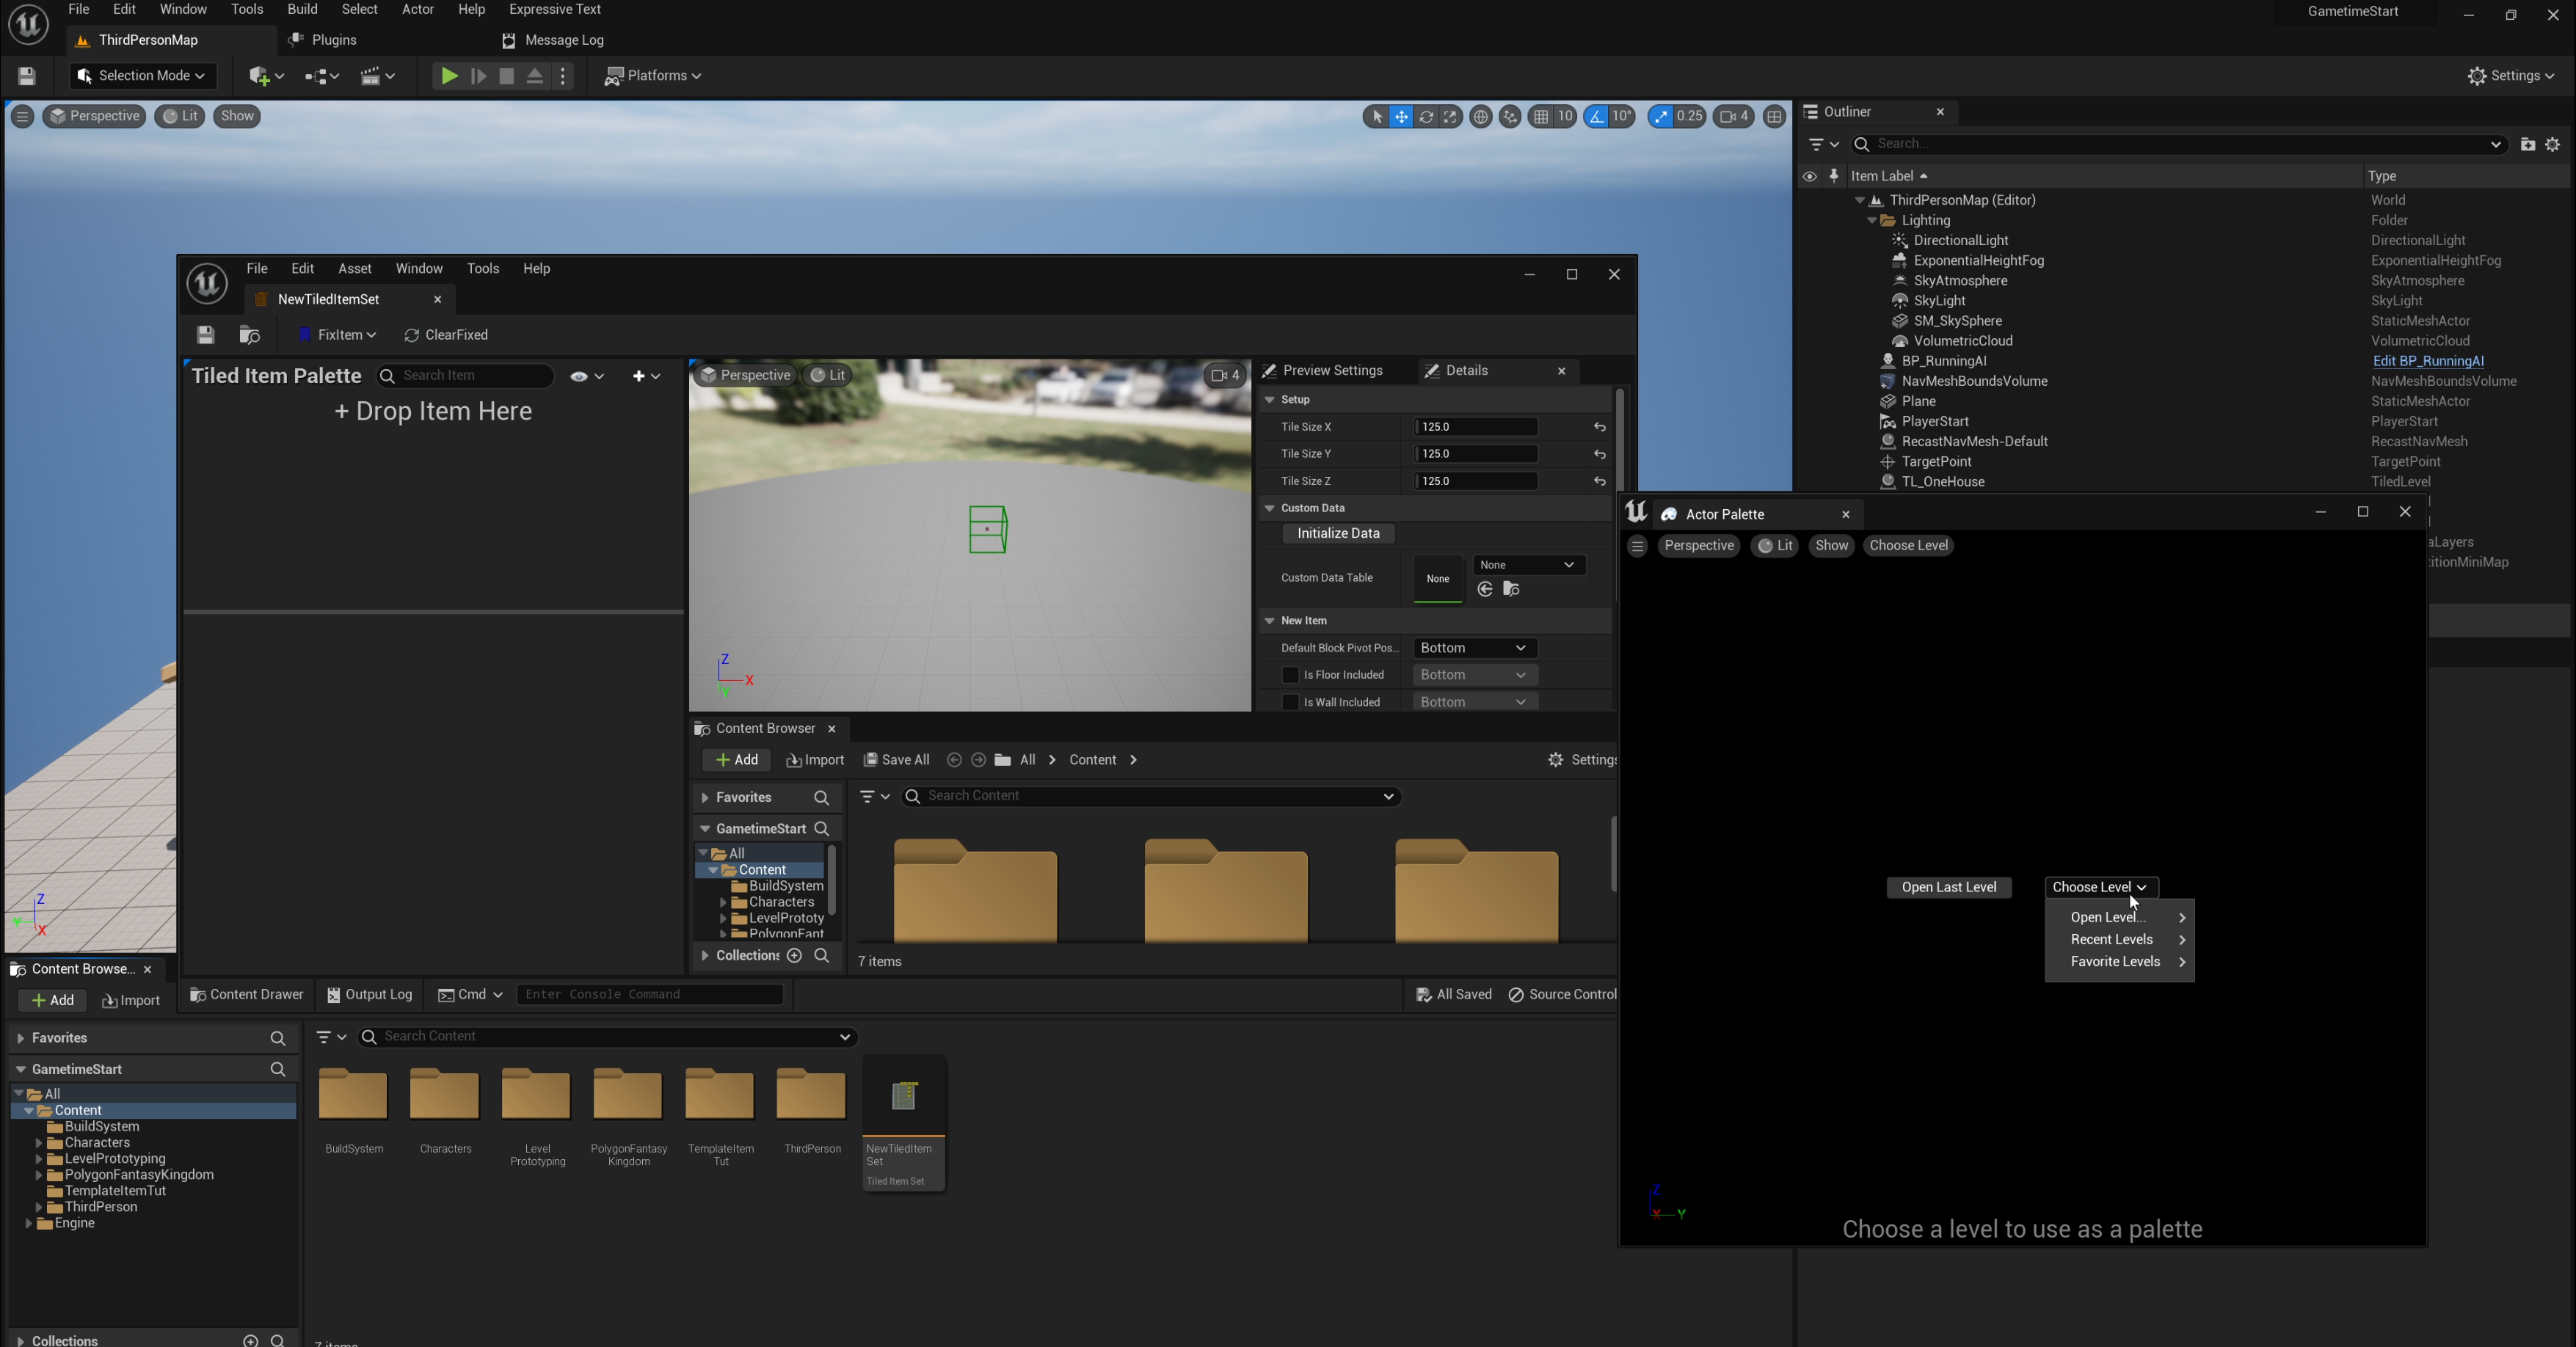
Use “Actor Palette” plugin to choose which meshes to use
To make it easier to choose an asset from among hundreds, I would recommend enabling the Actor Palette plugin, which allows you to directly select what you need. Simply open the demonstration map within the Actor Palette and drag the desired mesh into the item set.
Adjust item origin
Most origin issues should fix by setting a proper anchor point, however, if that doesn’t resolve the issue, manually adjust the translation using a multiplier of tile size. When making adjustments, do not use arbitrary values. There are sound reasons for assets to set up with these origins in place. Randomly adjusting them can result in poor alignment with other assets.
Duplicate asset if necessary
When one modular asset is used at multiple scales during assembly, duplicating that asset at each scale and treating the duplicates as separate, tiled items would be more efficient.